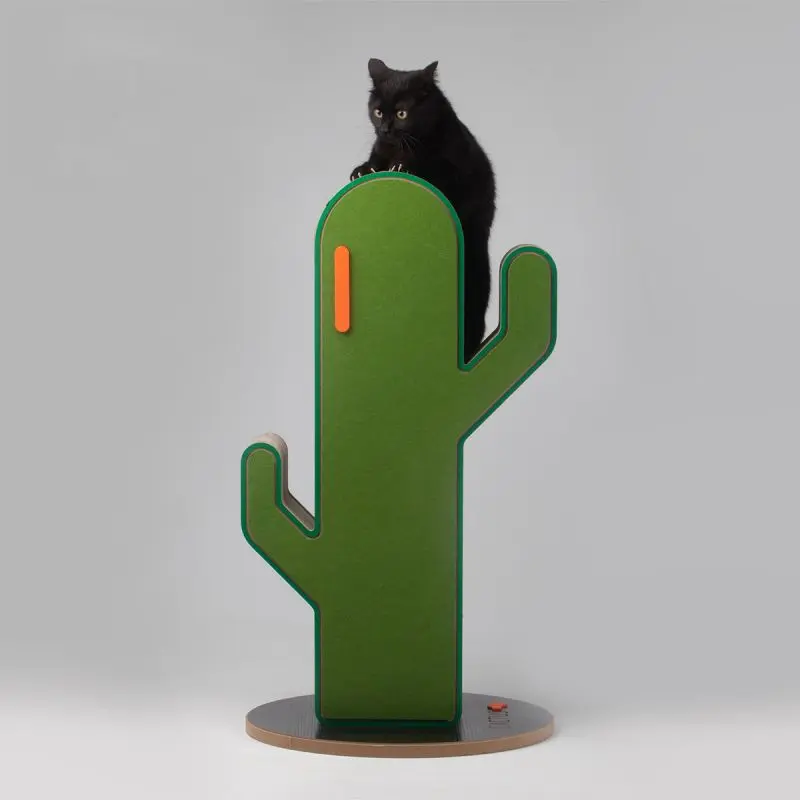
Cat trees are undoubtedly a favorite of our feline friends, providing them with a haven to climb, scratch and rest. Over time, however, the ropes covering these cat trees can become worn, lose their appeal, and even be harmful to your cat’s health. In this blog post, we’ll guide you through the step-by-step process of replacing the strings on your cat tree, ensuring your furry companion can continue to safely enjoy their beloved playground.
Step 1: Assess the condition of the rope
Before replacing the rope, carefully check the current condition of the existing rope on your cat tree. Look for signs of wear, disintegration, or weak areas. These can be dangerous to your cat, including potential tangles or ingestion of loose fibers. By identifying areas that require urgent attention, you can prioritize your work and develop a replacement plan.
Step 2: Gather necessary tools and materials
To replace the rope effectively, you will need some tools and materials. These include a pair of scissors, a utility knife, a staple gun, a hot glue gun, and of course, replacement string. Choose sisal rope as it is durable and great for withstanding scraping and climbing. Measure the length of rope required for each affected section, making sure there is enough rope to cover the entire area.
Step 3: Carefully remove the old rope
Start by securing one end of the existing rope with staples or glue to ensure it doesn’t unravel further during the replacement process. Using scissors or a utility knife, gradually cut and remove the old rope, section by section. Use caution to avoid damaging the cat tree’s support structure or any other components.
Step 4: Clean and prepare the surface
After removing the old rope, take a moment to clean the surface underneath. Remove any debris, loose fibers or remnants of the previous rope. This step will provide a new canvas for the rope replacement and improve the overall beauty and cleanliness of the cat tree.
Step 5: Secure the Starting Point
To start wrapping the new string, use staples or hot glue to secure it tightly at the starting point. The choice of method depends on the material of the cat tree and personal preference. Staples are suitable for wooden surfaces, while hot glue is more effective for plastic or carpet surfaces. Make sure the starting point is solid so that the rope remains taut as you continue to wrap.
Step 6: Wrap the rope firmly and neatly
After securing the starting point, wrap new rope around the affected area so that each spiral overlaps closely. Apply enough pressure to ensure a tight fit and prevent any gaps or loose threads from forming. Pay close attention to the tension of the rope throughout the process, maintaining a consistent pattern and alignment.
Step 7: Securing Endpoints
Once you’ve covered the designated area with the replacement string, use staples or hot glue to secure the ends just like you did at the beginning. Make sure the rope is tight to prevent it from loosening or loosening over time. Cut off excess string, leaving a clean and neat look.
Step 8: Introduce and encourage your cat to use the updated cat tree
Once the replacement process is complete, introduce your cat to their “new” cat tree. Encourage them to explore by luring them with treats or toys. Observe their reactions and provide positive reinforcement when they come into contact with the replacement string. Over time, your cat will reacclimate to the refurbished cat tree, restoring their playful spirit and providing them with endless fun.
Taking the time to replace frayed strings on your cat tree is a small but significant investment in your cat’s health and happiness. By following the step-by-step guide above, you can reinvigorate their playground and make it safe and enjoyable again. Remember to regularly inspect and replace any damaged ropes to ensure the long-term durability and safety of your cat tree. Your feline companion will thank you with tons of purrs and affectionate head rubs!
Post time: Nov-25-2023

