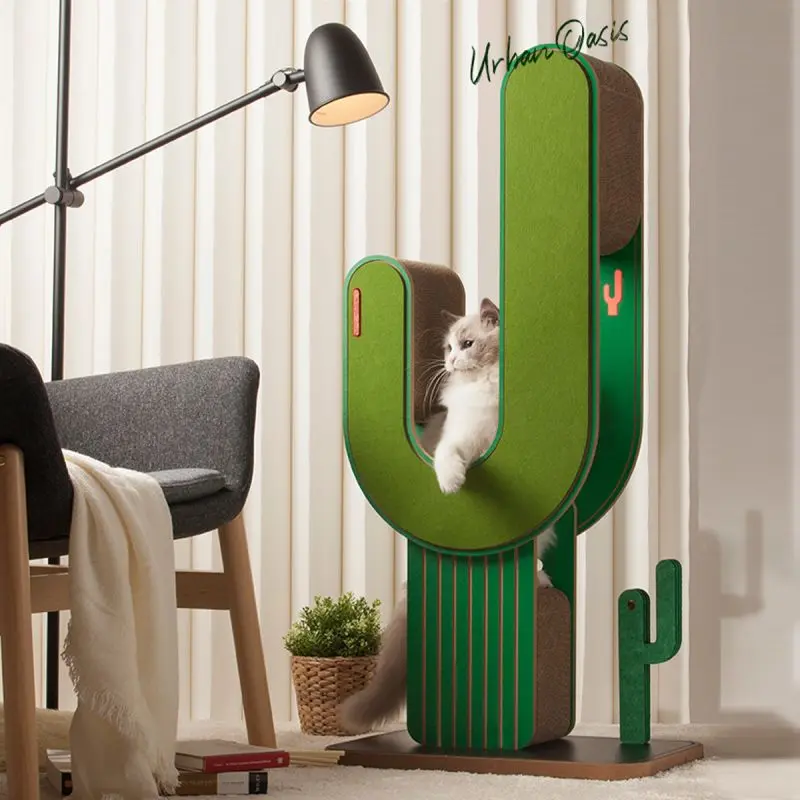
If you’re a cat owner, you know how much our feline friends love to climb and explore. Providing them with a cat tree is a great way to satisfy their instincts and keep them happy. However, cat trees can be very expensive and not everyone has the budget to purchase one. The good news is that you can easily make a cat tree out of cardboard boxes, making it a fun DIY project your cat will love.
materials needed:
Cardboard boxes (various sizes)
Box cutter or scissors
Hot glue gun
Rope or twine
sisal rope
Carpet or felt
cat toys
mark
Tape measure
Step 1: Gather materials
Start by collecting cardboard boxes of different sizes. You can use old shipping boxes or household items boxes. Make sure the box is clean and does not have any tape or stickers. You’ll also need a utility knife or scissors, a hot glue gun, string or twine, sisal rope, rug or felt, cat toys, markers, and a tape measure.
Step 2: Plan your design
Before you start cutting and assembling the box, it’s important to plan the design of your cat tree. Consider the space for your cat tree and the size of your cat. You can sketch out a rough design on paper or simply visualize the structure you want to create.
Step Three: Cut and Assemble the Box
Using a box cutter or scissors, carefully cut openings in the box to create a platform and tunnel for the cat tree. You can create different levels by stacking boxes and securing them with hot glue. Make sure the box is stable and can support the cat’s weight.
Step 4: Wrap the box with sisal rope
To add scratching posts to your cat tree, wrap some boxes with sisal rope. This will provide your cat with a textured surface to scratch on and help keep their claws healthy. Use hot glue to hold the sisal rope in place as you wrap it around the box.
Step 5: Cover the box with rug or felt
To make the surface of the cat tree more comfortable for your cat, cover the box with carpet or felt. You can use a hot glue gun to attach carpet or felt to the box, making sure to secure the edges to prevent fraying.
Step 6: Add Platforms and Perches
Create platforms and perches by cutting out larger pieces of cardboard and attaching them to the top of the box. You can also use smaller boxes to create a cozy hiding place for your cat. Make sure to secure everything with hot glue for stability.
Step 7: Secure the Cat Tree
Once you’ve assembled the main structure of your cat tree, use rope or twine to secure it to a stable surface, such as a wall or heavy furniture. This prevents cats from tipping over when they climb up to play in the cat tree.
Step 8: Add toys and accessories
Enhance your cat tree by installing toys and accessories on different floors. You can hang feather toys, hanging balls, or even a small hammock for your cat to rest. Get creative and think about what will entertain and stimulate your cat.
Step 9: Introduce your cat to the tree
Once your DIY cat tree is complete, gradually introduce it to your cat. Place some treats or catnip on different floors to encourage your cat to explore and use the tree. Over time, your cat may become attracted to the new structure and begin to use it for climbing, scratching, and resting.
All in all, making a cat tree out of cardboard boxes is a cost-effective and enjoyable way to provide a fun and stimulating environment for your cat. Not only does it keep your cat happy, it also provides them with a place to exercise and satisfy their natural instincts. So gather your materials and get creative with this DIY project that you and your cat will love.
Post time: Apr-22-2024

