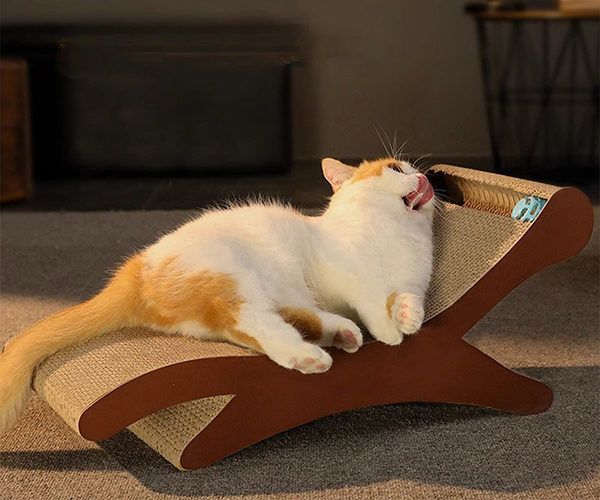
Providing our furry friends with a cozy and comfortable haven is vital to their overall well-being. While there are many cat bed options on the market, having a personalized cat bed can not only add a special touch but also save you money. In this blog, we’ll explore step-by-step the process of making a homemade cat bed that your feline companion will love.
Step 1: Gather Supplies
Before embarking on this creative journey, it’s important to gather all the necessary supplies. Here’s a checklist of what you’ll need:
1. Fabric: Choose a soft, durable fabric that suits your cat’s preferences. Consider their fur color and the overall aesthetic of your home.
2. Stuffing: Choose comfortable stuffing materials like fiber stuffing, memory foam, or old blankets to keep your cat cozy.
3. Needle or sewing machine: Depending on your sewing skills and equipment availability, decide whether to hand sew the bed or use a machine to sew the bed.
4. Scissors: Make sure you have a sturdy pair of scissors to cut the fabric.
5. Tape measure: This will help you determine the exact size of your cat’s bed.
Step 2: Design and Measure
Now that you have your supplies ready, it’s time to design and measure your cat bed. Consider the size of your cat and how they like to sleep. Some cats prefer large open beds, while others prefer more enclosed spaces. Sketch out your desired design and measure accordingly.
Step 3: Cut and Sew
Once you have the design and dimensions, it’s time to cut the fabric. Lay the fabric flat on a clean surface and use scissors to carefully cut out the necessary shapes according to your design. Remember to cut two identical pieces for the top and bottom of the cat bed.
Now, staple the two pieces of fabric together with the patterned side facing inwards. Use a sewing machine or needle and thread to sew the edges, leaving a small opening to insert the filling. If hand sewing, be sure to sew the seams tightly to prevent unraveling.
Step 4: Filling
After the fabric is sewn, carefully turn the cat bed right side out of the opening. Now it’s time to add the filling. If using fiber filler, tuck it lightly into the bed to ensure even distribution. For memory foam or old blankets, cut them into small pieces and gradually fill the bed until your desired level of comfort is achieved.
Step 5: Finishing touches
Once you’re happy with the filling, hand-sew the opening using concealed or trapezoid stitch to ensure a clean finish. Check the bed for loose threads and trim if necessary.
Personalize the bed by adding your cat’s name using fabric paint or embroidery. You can also attach ribbons, lace or any other decorative elements that you think will give the bed a unique look.
Making a cat bed from scratch allows you to be creative while providing a cozy place for your feline companion. By following these simple steps, you can design a safe haven that is personalized to your cat’s preferences. Remember, a happy and content cat is the key to a harmonious home, and a comfortable bed is just the beginning of endless purrs and snuggles. So grab your supplies, put on your creative hat, and start this fun endeavor to create the perfect cat bed for your beloved feline friend.
Post time: Jul-31-2023

