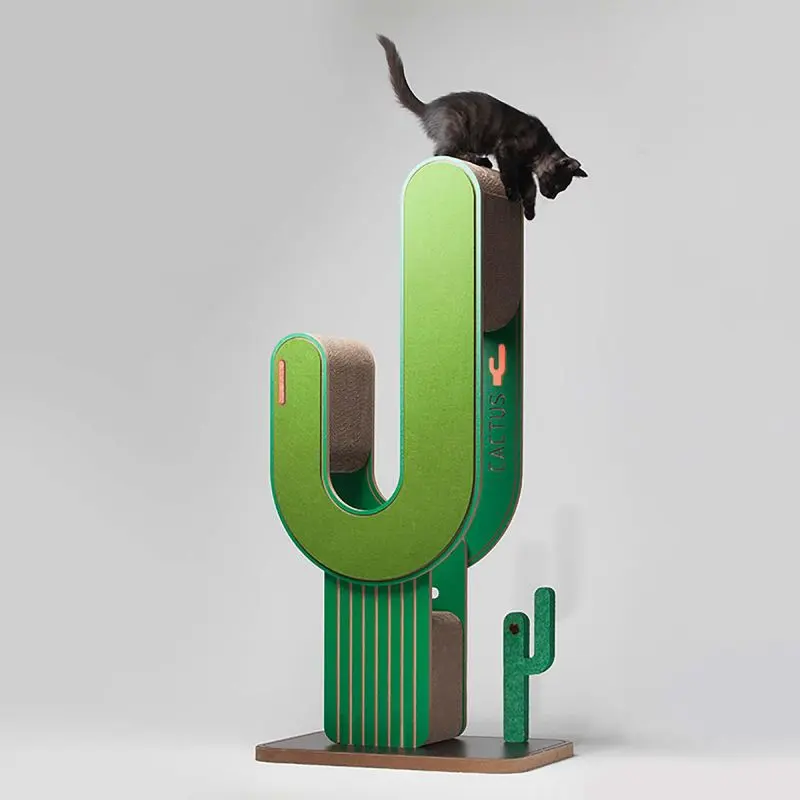
If you’re a cat owner, you know how much your furry friend loves to climb, scratch, and perch in high places. While there are many cat trees available for purchase, building your own can be a rewarding and satisfying project that your feline friend will love. In this blog, we will discuss the benefits of building a cat tree and provide a step-by-step guide on how to build a cat tree.
Benefits of Cat Trees
First, a cat tree provides a designated space for your cat to engage in natural behaviors such as scratching, climbing, and jumping. By allowing your cat to satisfy these instincts in a safe and controlled environment, you reduce the likelihood that they will damage your furniture or other household items.
Additionally, cat trees can provide your cat with a sense of security and territory. Cats are territorial animals, and having a designated space of their own can help reduce stress and anxiety. It also gives them a place to escape when they need some alone time or a nap.
Additionally, cat trees can provide exercise and mental stimulation for your cat. Climbing and jumping on the tree’s various levels can help your cat stay healthy and active, while the tree’s different shapes and textures can provide mental stimulation.
How to build a cat tree
Now that we’ve covered the benefits of cat trees, let’s dive into how to build one for your furry friend. Here’s a step-by-step guide to building a basic cat tree:
Step 1: Gather materials
First, gather the materials you need to build your cat tree. This typically includes the base material (such as plywood), carpet or other covering material, scratching material (such as sisal rope), and any other accessories or features you want to include, such as perches, ramps, or hanging toys.
Step 2: Create the base and frame
Use plywood to cut a base for the cat tree. The size of the base will depend on the size of your cat and the overall size of the tree you want to build. Next, create a frame using wooden posts or PVC pipes. These will serve as supports for all levels of the cat tree.
Step 3: Cover with rug or sisal rope
Once the frame is in place, cover it with carpet or sisal rope. This will provide your cat with a comfortable and durable surface to scratch and rest on. Make sure to secure the mulch tightly and trim any excess material.
Step 4: Add Levels and Perches
Use additional sheets of plywood or planks to create different heights and perches for your cat tree. These can be attached to the frame using brackets or screws. Make sure floors and perches are firmly secured to keep your cat safe.
Step 5: Install Accessories
Finally, add any other accessories or features to your cat tree, such as ramps, hanging toys, or cozy hiding places. These will add extra fun and excitement for your cat.
All in all, building a cat tree is a fun and rewarding project that benefits both you and your feline friend. Not only does it provide a designated space for your cat to engage in natural behaviors, but it also gives them a sense of security, exercise, and mental stimulation. So why not give it a try and build a custom cat tree for your furry companion? They’ll thank you by spending hours playing and relaxing in their new favorite spot.
Post time: Jan-29-2024

